A clean bottle body does not mean the seal under its lid is clean. If your water bottle’s silicone gasket smells, check the exact lid instructions before deciding whether to clean the seal separately or leave it installed. Some manufacturers encourage disassembly; others say to leave the gasket installed for normal cleaning.
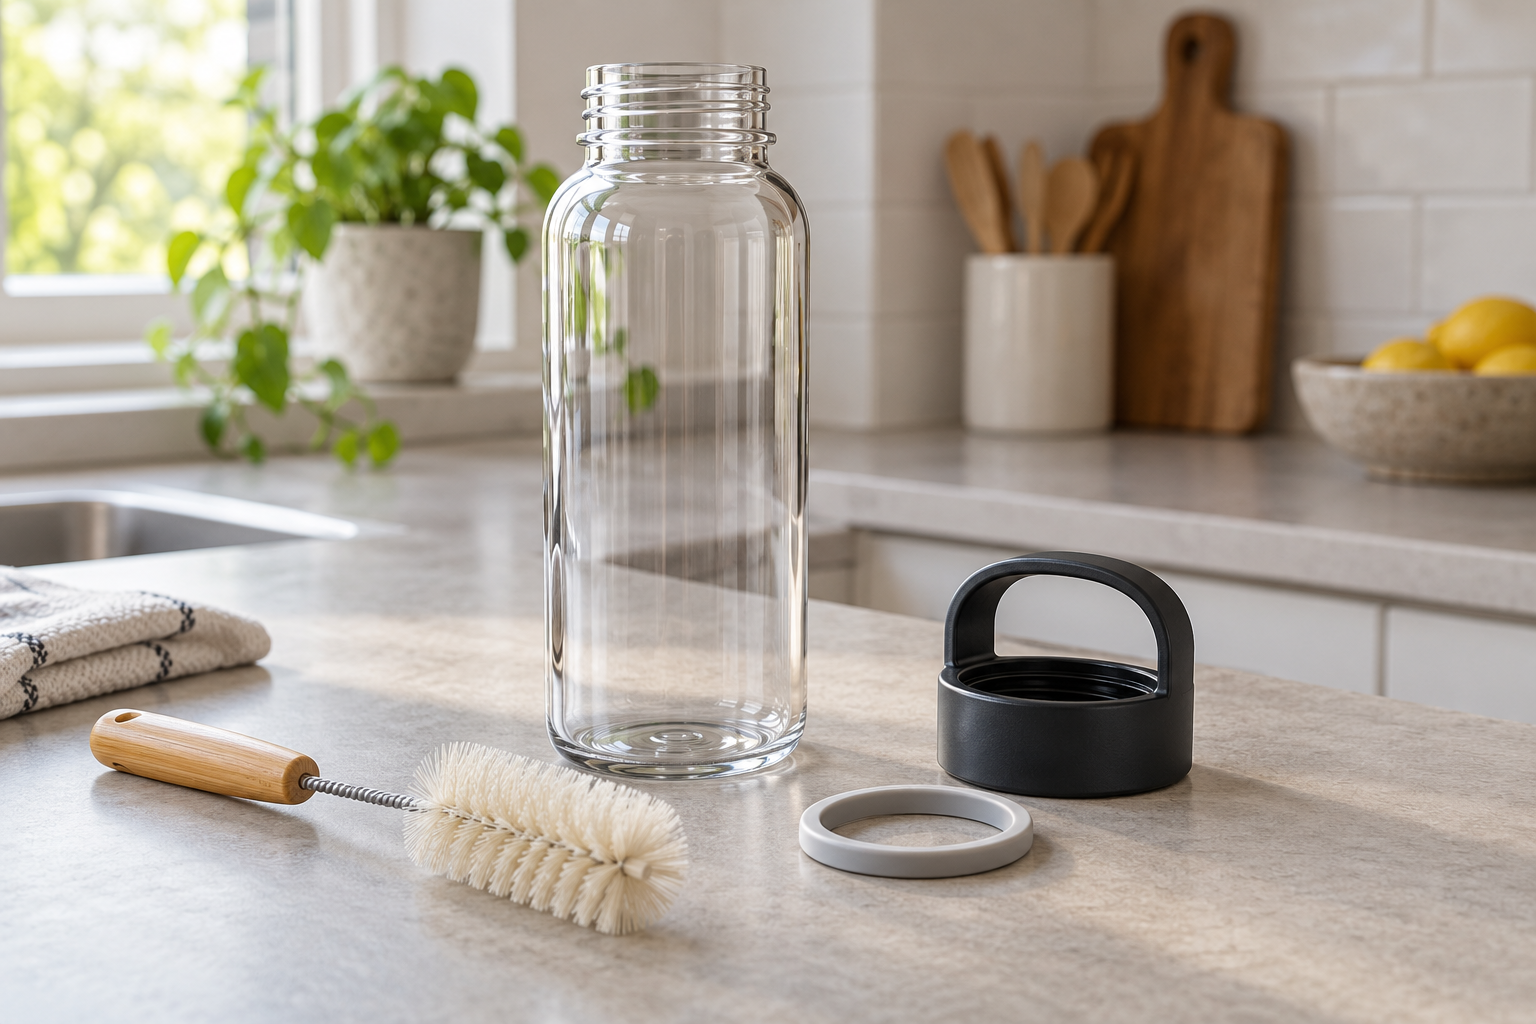
AI-generated illustration, not an actual cleaning photograph or product test.
Quick answer
For a gasket your manufacturer identifies as removable, wash the seal and its channel separately with soapy water and a soft brush, rinse thoroughly, and let both dry completely before reassembly. Do not pry out an unidentified ring or boil a complete lid just because the seal looks like silicone. Replace a torn, cracked, or persistently smelly gasket with the correct model-specific part.
This guide covers removal permission, careful cleaning, and putting the seal back correctly. For odors throughout the body, straw, and mouthpiece, start with our water bottle mildew-smell guide.
First check: does your manufacturer allow gasket removal?
The instructions below apply to the named products, not every bottle bearing that brand. A removable spout seal is not necessarily the same part as a concealed ring deeper inside the lid. Match the product name and lid shape before following a disassembly guide.
- Hydro Flask Flex Sip Lid: Its official guide explicitly includes removing the red silicone seal as part of disassembly. All Flex Sip Lid pieces are top-rack dishwasher safe. The guide specifies reinstalling that red seal with its text facing up. Do not apply this sequence to an unrelated Hydro Flask cap.
- Tervis water bottle covered by its Water Bottle Use & Care page: Tervis says not to remove the internal silicone gasket for normal cleaning. It also provides a separate removal procedure: open and lock back the lid, then tap its base on a flat surface until the gasket comes loose. This is not permission to routinely dig the ring out with a tool.
- Ever Vessel: Its gasket-care guide describes removal, cleaning the gasket channel, complete drying, and reinsertion. Crucially, it says to confirm removability with the product guide or manufacturer because some bottle gaskets should not be removed.
No clear instructions? Leave the seal installed, clean accessible surfaces using the approved method, and ask the manufacturer about that exact lid. If odor or residue remains inaccessible, ask about a replacement lid rather than forcing it apart.
Material and part care table
| Part or material | Practical cleaning approach | Important limit |
|---|---|---|
| Removable silicone gasket | Soapy water, gentle brushing, thorough rinsing, and separate air-drying | Silicone alone does not establish a safe boiling or dishwasher temperature for the entire assembly. |
| Plastic lid and gasket channel | Soft brush that fits the accessible groove; follow the exact lid’s wash instructions | Do not gouge the groove or pry apart fixed mechanisms. |
| Hydro Flask Flex Sip Lid components | Mild bleach-free soap and soft sponge or brush; top-rack dishwasher is also allowed | Keep small pieces secure using the top-rack prongs or an accessory basket, as Hydro Flask advises. |
| Tervis bottle and lid on the cited care page | Top-rack dishwasher cleaning is allowed | Keep its internal gasket installed for normal cleaning. |
| Metal bottle body | Use the body’s own care instructions while addressing the lid separately | Lid dishwasher permission is not automatically body permission. |
Supplies
- Your exact model’s care and reassembly instructions
- Mild dish soap compatible with the product; bleach-free for the Flex Sip Lid
- Water at the temperature the manufacturer permits
- A soft sponge and small, soft cleaning brush that fits without force
- A clean bowl or basin for keeping small parts together
- A clean drying rack or clean towel, plus a phone for an orientation photo
No deodorizing mixture is necessary for the basic routine. Avoid making an improvised metal pick your default removal tool. If the manufacturer specifies a release method, use that method rather than a generic internet trick.
How to clean an approved removable gasket
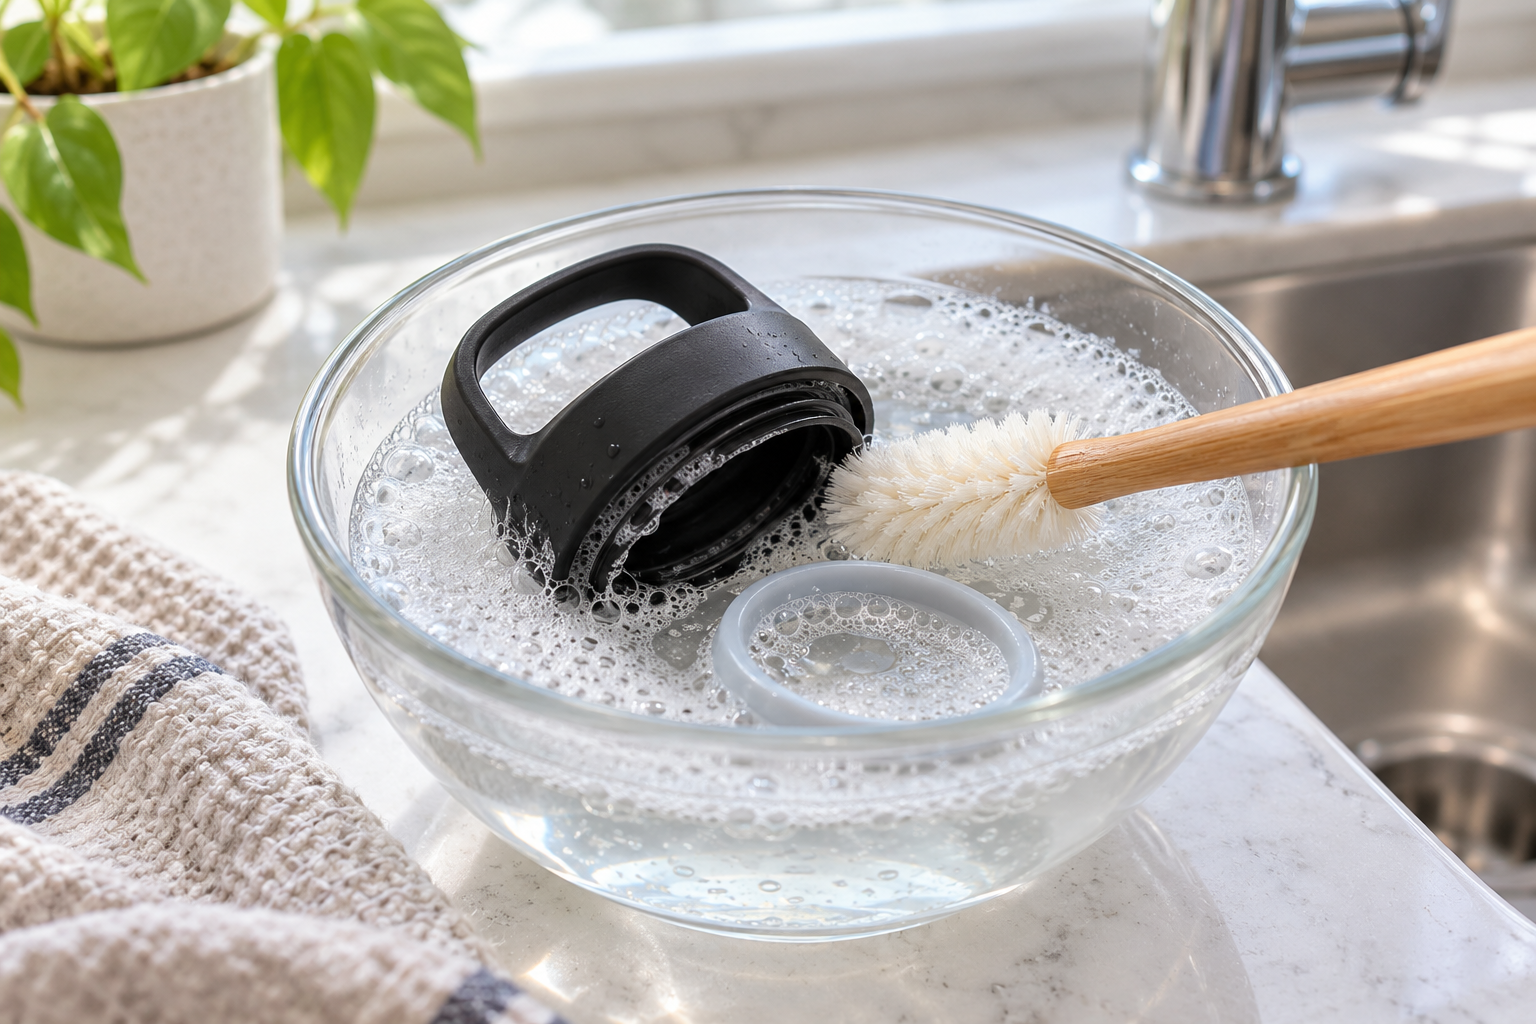
AI-generated illustration, not an actual cleaning photograph or product test.
1. Empty the bottle and identify each removable piece
Remove the lid and check the official diagram. Take a photo showing which side of the gasket faces outward and how it sits in its channel. Work over a bowl or clean surface so a small seal cannot disappear down the drain. Keep pieces from different bottles separate.
2. Release the seal without stretching it
Follow the model’s disassembly sequence. Hydro Flask’s Flex Sip guide requires unlocking lid components before removing its red seal; it is not simply a pull-any-ring procedure. Stop if the seal resists or the instructions do not match your lid. Do not cut, stab, or pull hard on one edge.
3. Wash the gasket and the empty groove
Use the approved soapy-water method and gently clean both faces and edges of the gasket. Then brush the channel it occupied. Ever Vessel specifically calls for cleaning both the gasket and the channel, including accessible deeper areas with an appropriately sized brush. Cleaning the ring alone leaves the mating surface untreated.
Use light pressure and a brush that reaches without scraping. A brush that jams into the groove is not a better brush. If your model permits dishwasher cleaning, secure the pieces as directed instead of dropping loose seals into the machine.
4. Rinse and air-dry separately
Rinse all accessible surfaces until suds and loosened residue are gone. Set the gasket and lid apart with air reaching their surfaces. Ever Vessel emphasizes complete drying before reassembly; depending on conditions, that can take hours. Do not assume the hidden channel is dry because the top of the lid feels dry.
5. Reinstall in the correct orientation
Use your photo and the official assembly diagram. Press the gasket evenly into its seat without twisting or folding it. For the Flex Sip Lid, the red seal goes back with text facing up. Tervis says its gasket must be completely seated in the groove. Check around the full perimeter before attaching the lid.
As a practical final check, use cool water over a sink to check for leakage before carrying the bottle in a bag. If the gasket bunches, appears stretched, or will not seat, stop using that assembly and contact the manufacturer.
If the gasket still smells
First check whether the odor is actually in the dry gasket, the empty channel, or another accessible lid part. Do not taste-test questionable water. Repeat only the approved cleaning process if residue was missed; a stronger chemical is not automatically the next step.
Ever Vessel recommends replacing gaskets with tears, cracks, or persistent odors after thorough cleaning. Order the part for the exact lid and size, not a similar-looking household O-ring. If the maker does not sell the seal separately, ask whether the complete lid needs replacing.
Lingering odor alone cannot identify a specific organism, and no odor does not prove a part is sanitary. If visible contamination remains inaccessible, set the lid aside and seek replacement guidance instead of covering the smell with fragrance.
Safety: avoid heat shortcuts and cleaner mixtures
- Do not generalize boiling advice. A silicone ring and a finished plastic lid are different items. This routine does not include boiling, baking, microwaving, or heating a seal to remove odor.
- Never mix cleaners. Poison Control explains that bleach plus an acid, including vinegar, can produce chlorine gas; bleach plus ammonia produces chloramine gas. This guide uses an approved soap wash, not a sequence of chemical experiments.
- Cleaning is not a sterilization claim. Neither a fresh smell nor dishwasher permission establishes a validated sanitizing process for your particular assembly.
- Respond to exposure promptly. If cleaner fumes develop, leave the area for fresh air. In the United States, call Poison Control at 1-800-222-1222 for exposure advice; seek urgent medical attention for breathing difficulty or other serious symptoms.
Prevent the odor from returning
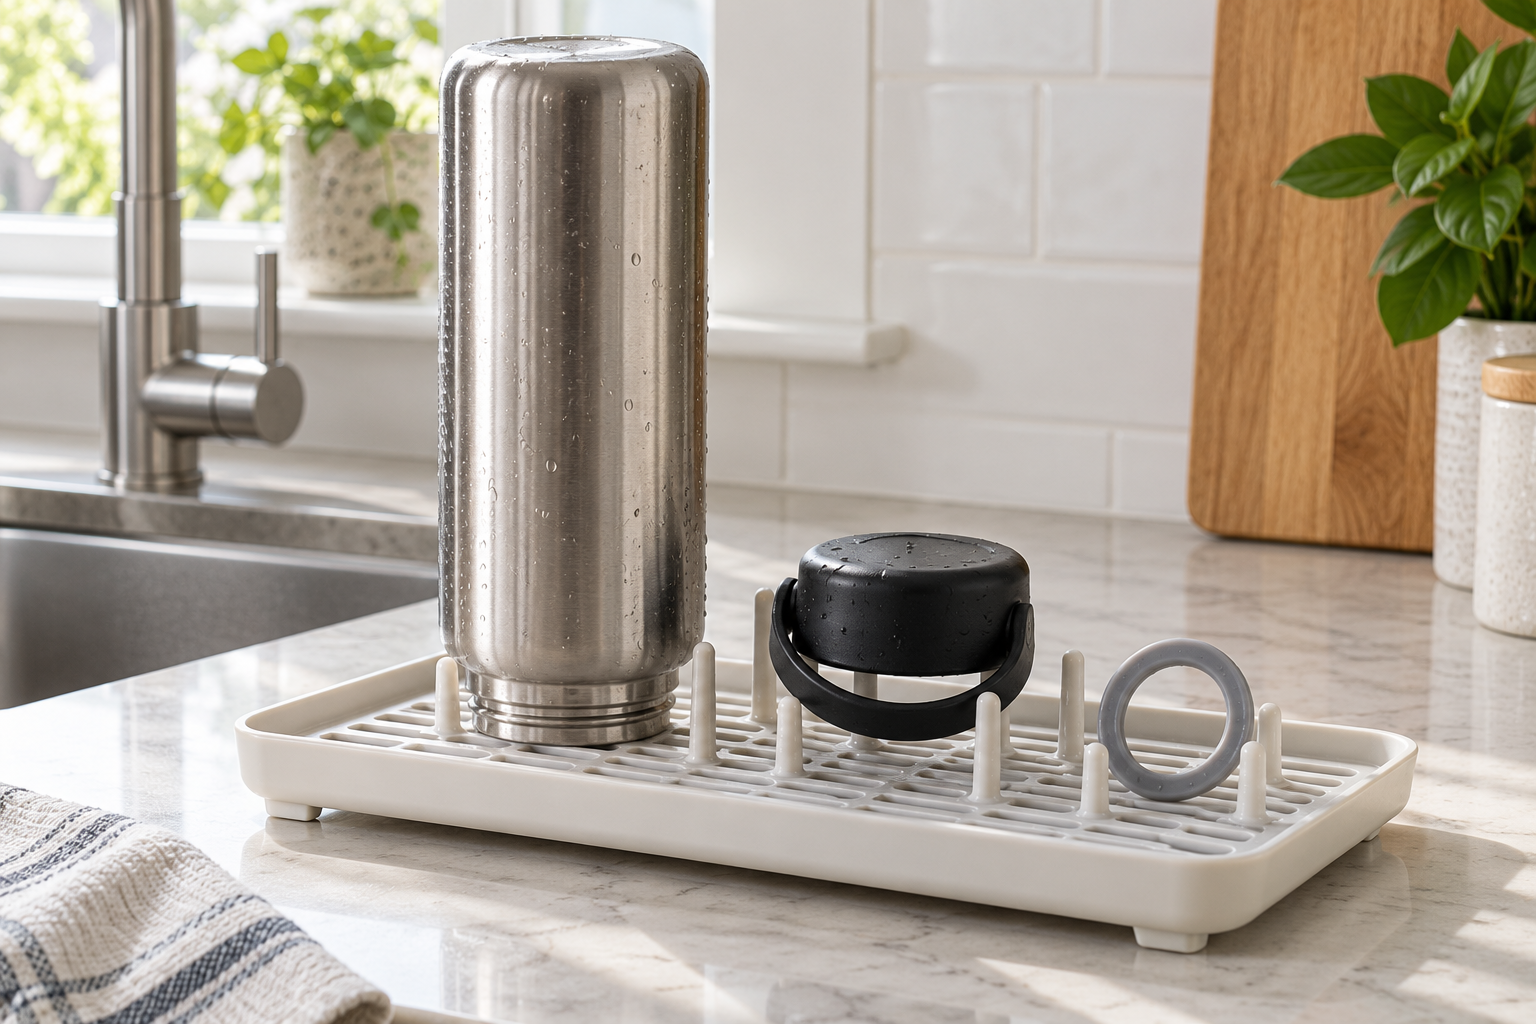
AI-generated illustration, not an actual cleaning photograph or product test.
Build drying time into your routine instead of washing immediately before storage. Keep the bottle open while it dries, and do not trap a wet removable gasket back inside a damp channel. Follow the cleaning frequency specified for your exact bottle and lid; the cited Flex Sip page describes its cleaning method but does not establish an after-each-use schedule.
Ever Vessel gives a daily basic-clean and weekly gasket-cleaning example, but explicitly says use patterns can require more frequent care. That example should not override Tervis’s instruction to keep its gasket installed for normal cleaning. For other odor problems around the home, see our household odor guide.
FAQ
Should I remove every silicone ring when washing?
No. Remove only parts the manufacturer identifies as removable for that task. Tervis specifically advises against removing its internal gasket for normal cleaning.
Can I put a loose gasket in the dishwasher?
Only if the instructions allow it. Hydro Flask permits all Flex Sip Lid pieces on the top rack and recommends securing them with prongs or an accessory basket. That permission does not cover all seals.
Why does the lid leak after cleaning?
Check orientation and seating first. Ever Vessel warns that bunching, twisting, or folding can compromise sealing. Replace a damaged seal rather than stretching it to fit.
Will soap guarantee the smell disappears?
No. Wash and dry as directed, then reassess. Persistent odor after thorough cleaning is a replacement reason in Ever Vessel’s guidance, not a reason to keep escalating heat or chemicals.
Sources
- Hydro Flask: How to Clean Your Flex Sip Lid
- Tervis: Water Bottle Use & Care
- Ever Vessel: How to Clean a Water Bottle Silicone Gasket
- Poison Control: Chlorine Gas
Last reviewed: October 23, 2026. This guide is based on manufacturer instructions and Poison Control guidance, not hands-on product testing. Follow the current instructions for your exact bottle and lid.